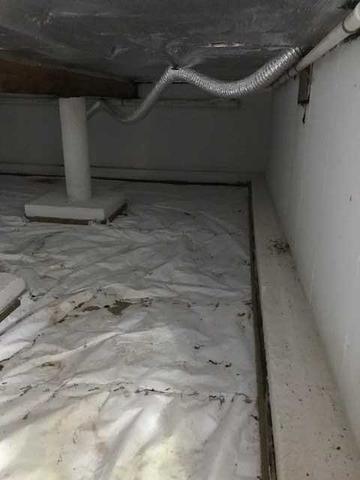
Before DryZone
This was a photo our inspector took on his initial visit to quote the job. There is a primitive vapor barrier in place.
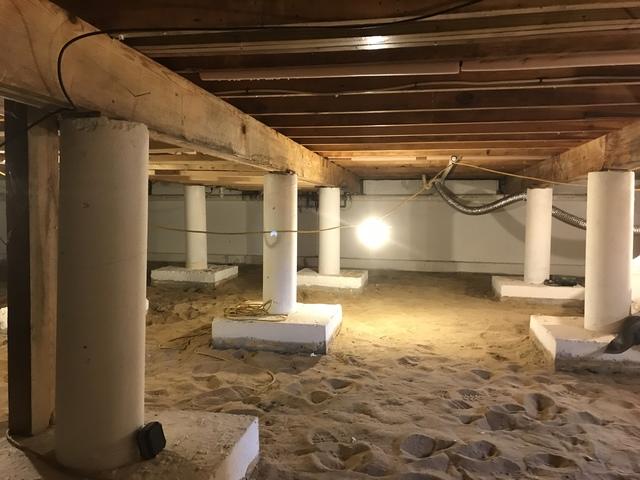
Debris Removal
The first step in the process is to remove any debris from the crawlspace. This includes but is not limited to: sagging insulation, any existing vapor barrier, plastic linings, sump liners or buckets.
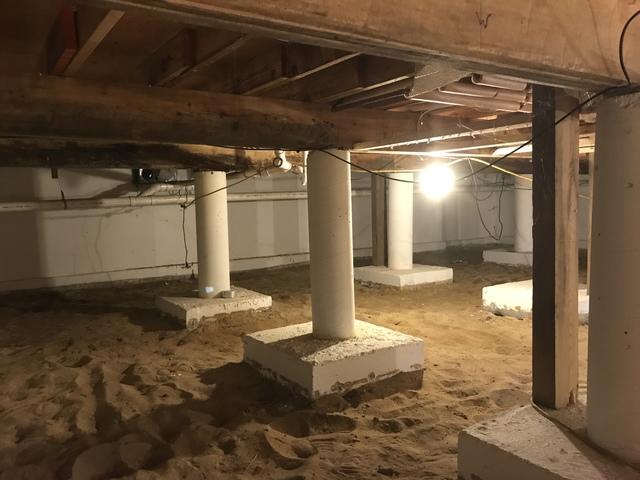
Large Crawlspace
This is a particularly large crawlspace in Nantucket, MA. The beams will need to be wrapped as well to protect the organic material it is made out of.
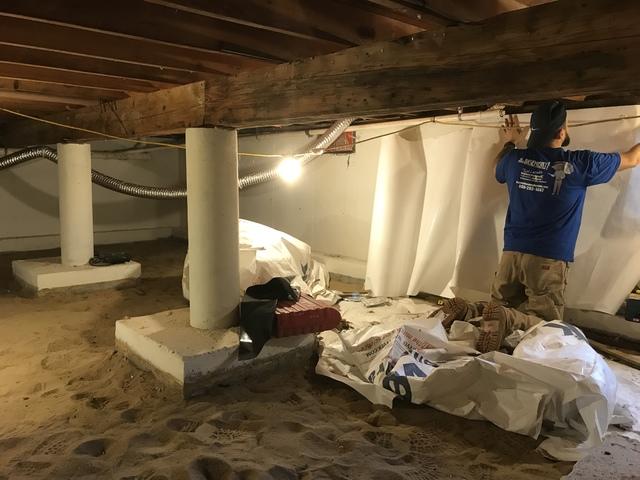
Installing Cleanspace
Derek Rice and Nick DeCosta (the installation crew on this job) are lucky that this was a tall crawlspace. They had plenty of room to work!
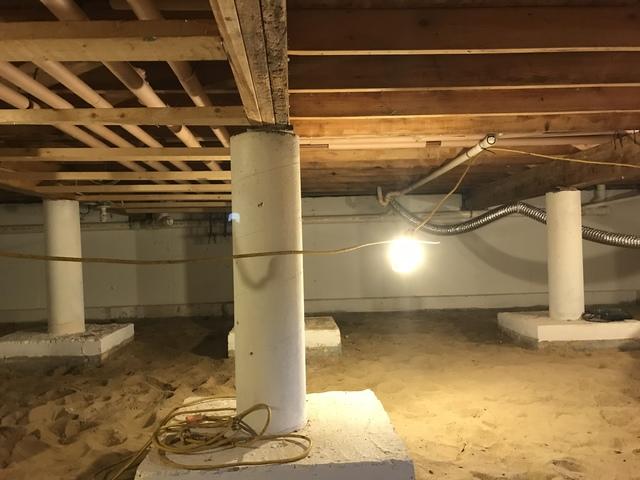
Sand Floor
The floor of this crawlspace is sand. Depending on the geography, it can be made of dirt, stones, clay or it could have poured concrete.
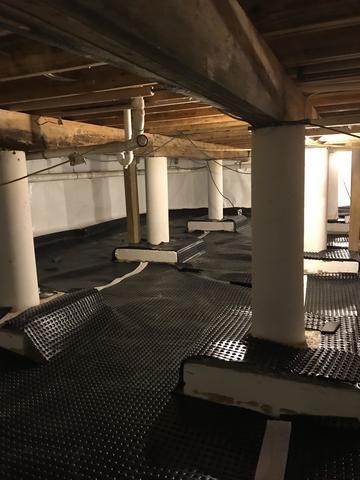
Drainage Matting
Drainage matting is laid down to create a barrier for water to pool under the Cleanspace
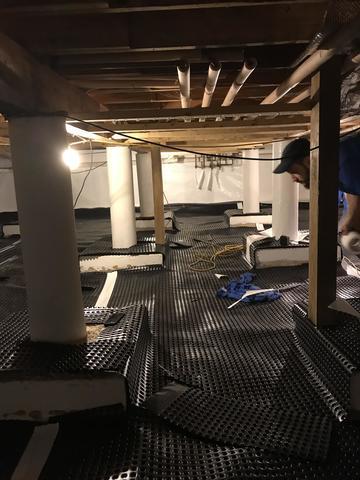
Cut to Perfection
The drainage matting is cut to fit perfectly around any obstacles. In this case, the risers surrounding the beams in the crawlspace.
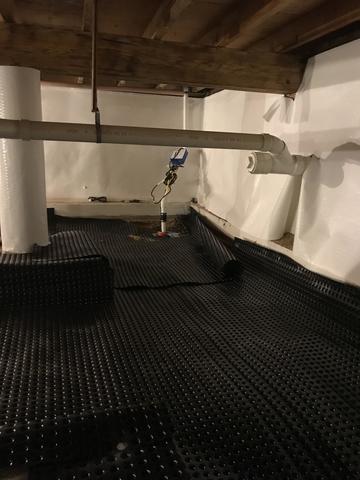
The SmartSump
The SmartSump is in the low spot of the crawlspace because water flows downhill. The Cleanspace will be tucked around the liner making it a sealed system.
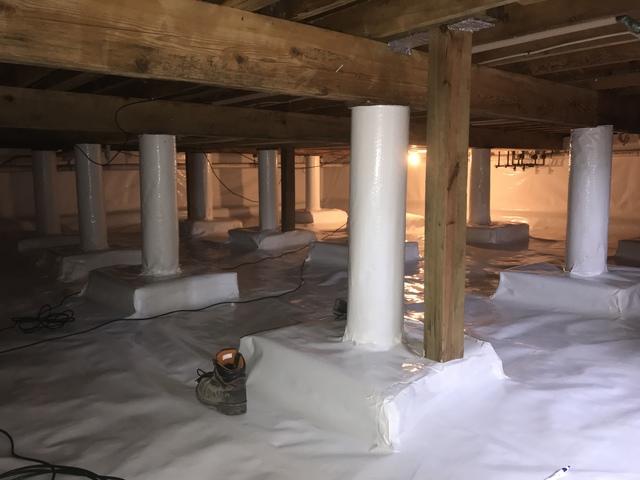
Finished!
The Cleanspace was applied to the entire crawlspace, covering the drainage matting.
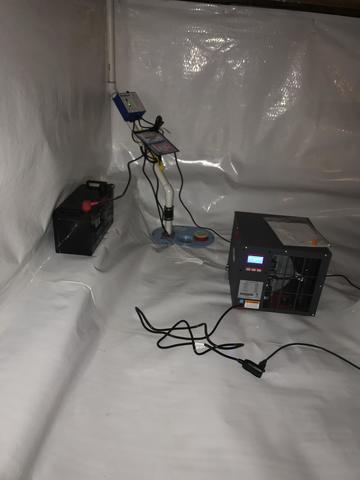
Sump and Sedona
This shows the sump (equipped with an UltraSump battery back up system) and the SaniDry Sedona is draining directly into the pump. This photo shows the heart of the system which keeps everything working!


