
Wet and Falling Insulation
The first step is to remove the insulation that was falling. It is not effectively insulating the floor joists which means the cool air in the winter (or warm air in the summer) is escaping through the floors.
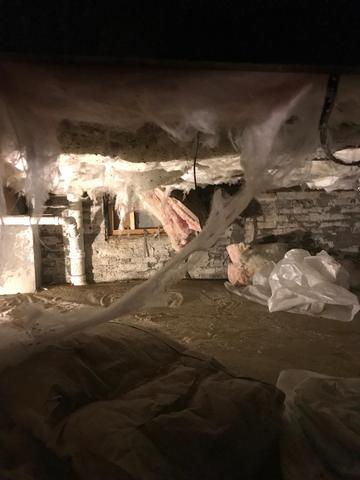
More Insulation
This was a large crawlspace with a lot of debris that needed to be removed.
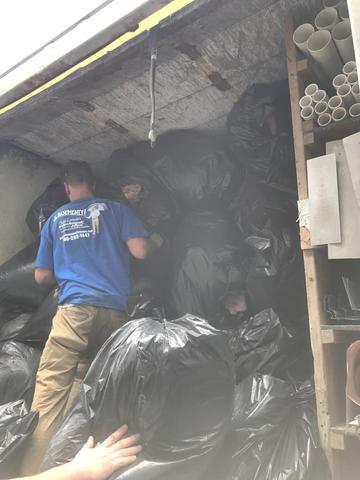
A Whole Truckload!
We filled an entire truck with just the debris from the crawlspace!

Improvements
That's a little better.. but there is still more work to do
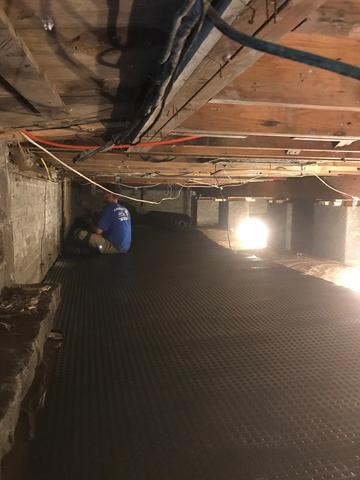
Done with Phase 1
Now that all the insulation and debris is removed, we can begin laying down the drainage matting. The dimpled plastic on the ground creates a barrier for air and water to flow between the earth and the Cleanspace that will be laid on top. It is an effective way to create drainage in a mostly flat place.

Drainage Matting Down and Cleanspace Up
The Cleanspace is up on the walls and the drainage matting is down. The piers in the back are wrapped with Cleanspace as well.

Tight Squeeze
The crawlspace is a tight area but our crew still manages to fit in the smallest places to install our system
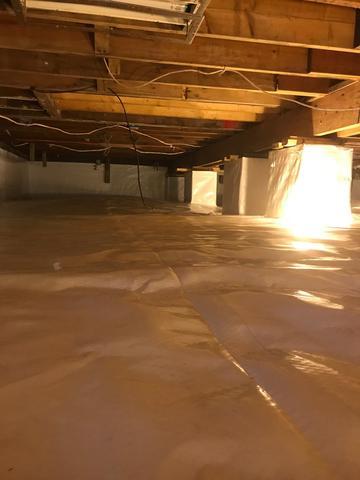
Sleek Look
The crawlspace looks sharp once the Cleanspace is installed

The Difference
The difference is incredible. The crew can get around the entire crawlspace effortlessly and without fear of moldy insulation falling on them
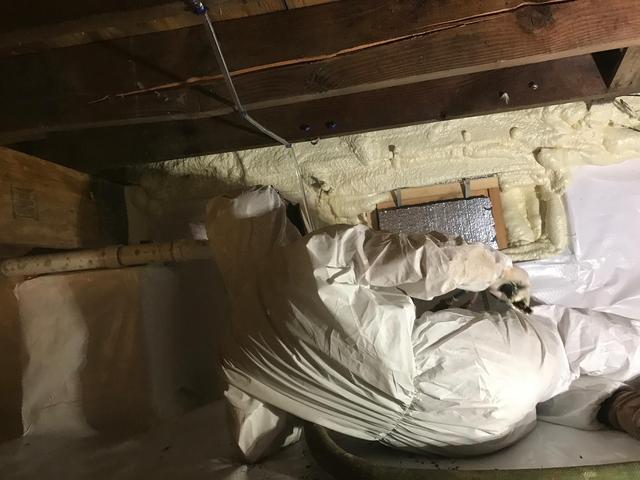
Spray Foam
Our spray foam specialist, Matt, sprays around the vents to seal the outside air from coming in.
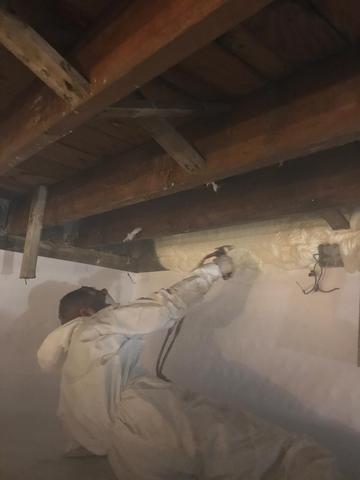
Rim Joist Spray
He also sprays the rim joists to seal and insulate the area

SaniDry Sedona
The SaniDry Sedona is strong enough for a basement or a crawlspace and it's light enough to transport easily. It comes with a 5 year warranty, too! What's not to love?
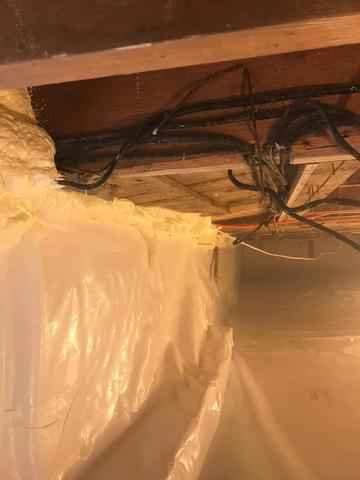
FInal Steps
The final steps include spray foaming and caulking the top of the Cleanspace to seal the system from top to bottom


