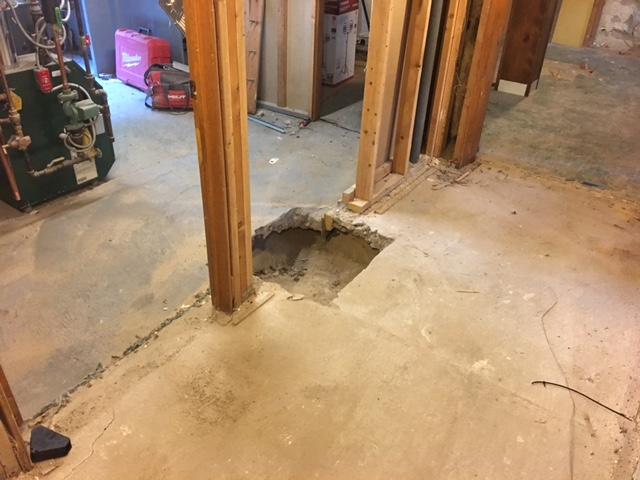
Hole for the SmartJack
The first step to installing our SmartJack stabilizer is to excavate a hole in the crawlspace (or basement) for each SmartJack. This particular home needed 4 in the basement and 4 in the crawlspace.
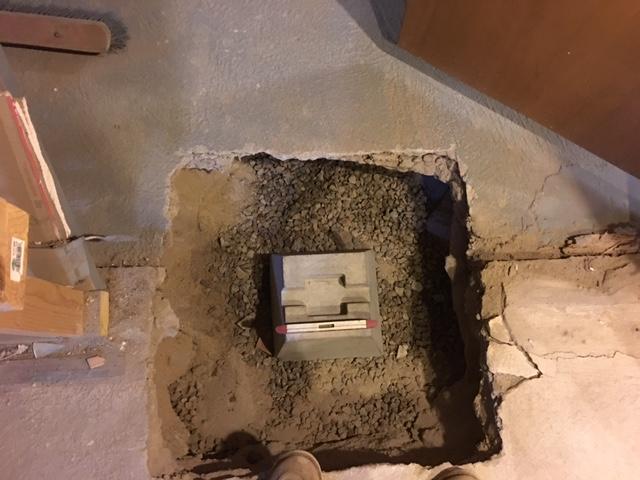
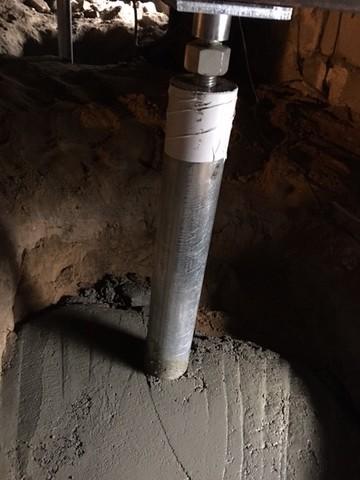
Base for the SmartJack
The next step is to fill the hole with compacted structural stone and the concrete base is installed.
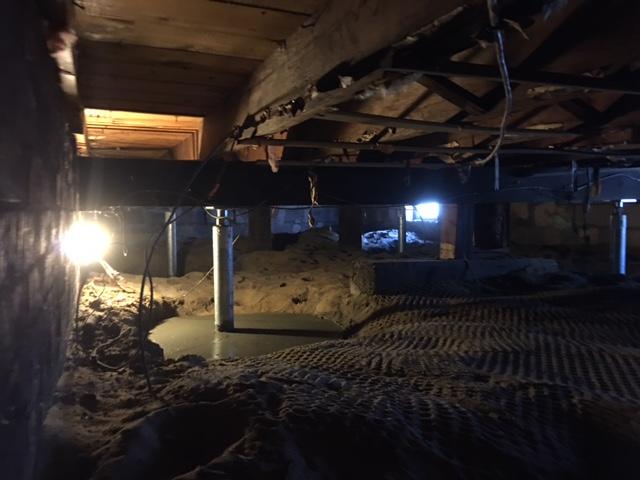
SmartJacks in the Crawlspace
You can see the steel beams in between the existing support columns in the crawlspace. Each SmartJack can support 30,000 pounds! WOW!
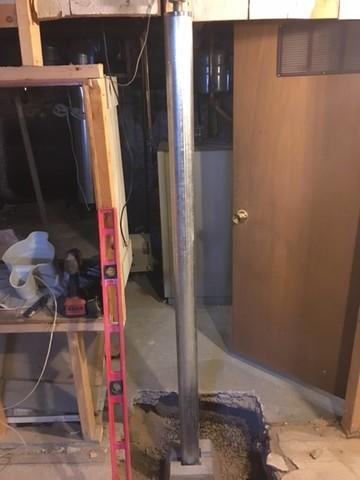
Steel Beam
Then, the steel SmartJack is cut to size and installed under your sagging floor.
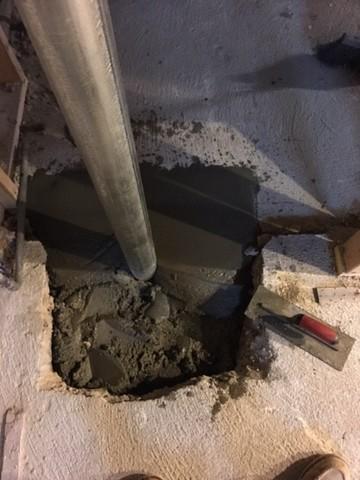
New Concrete
Finally, we concrete the hole.
SmartJack design
The design of the SmartJack allows an adjustable screw to jack-up the floor.