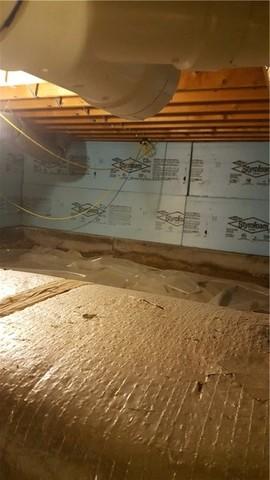
Before Debris Removal
This photo shows what we began with . The first step was to remove the debris and regrade the crawlspace

After Debris Removal
The next step is to lay down the drainage matting and CleanSpace vapor barrier
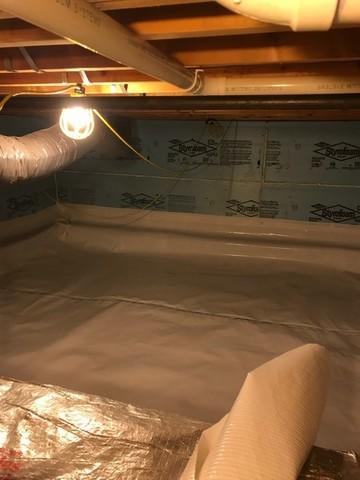
All done!
The crawlspace is protected from water and moisture
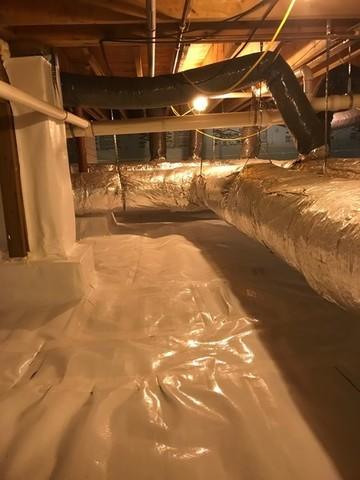
Ducts and Wrapped Piers
We wrapped the support beams in the crawlspace to keep that dry as well. Maneuvering around ductwork in crawlspaces isn't always easy but the finished product is worth it!