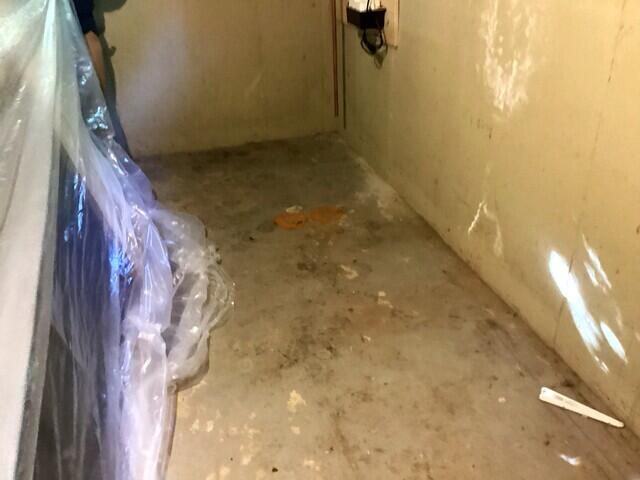
Locating The Sump Pump Location
In this corner, our inspector chose to install our TripleSafe here because it's the lowest part in the floor.
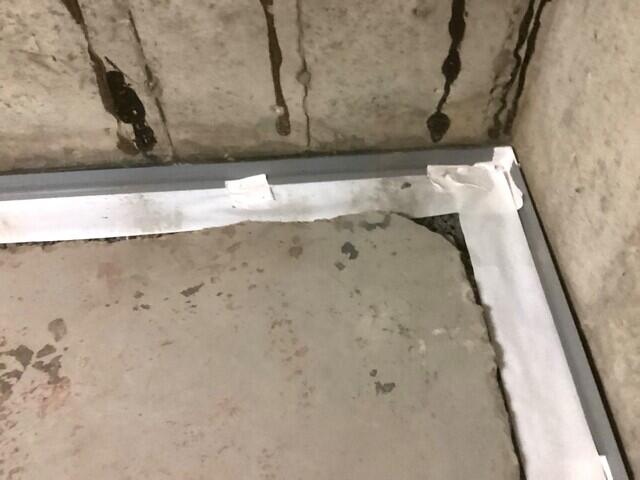
WaterGuard Installed
We had to open the floor with a jackhammer to make a trench for the WaterGuard. The water will seep down these walls and will be collected by this channel.
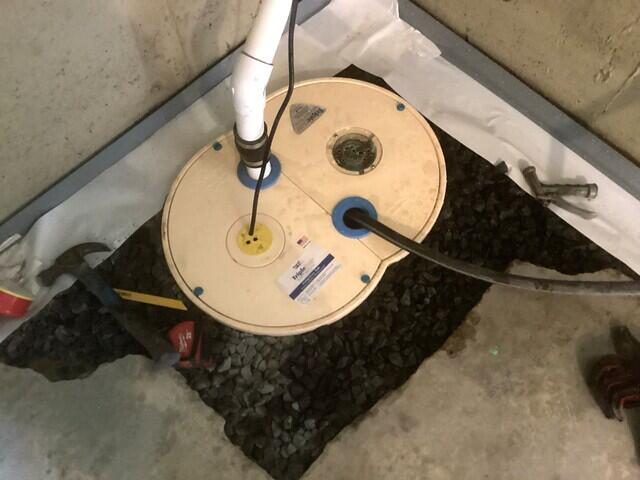
TripleSafe Sump Pump In Place
Our TripleSafe comes with 3 pumps, a primary, secondary and battery backup in case of a power shortage.
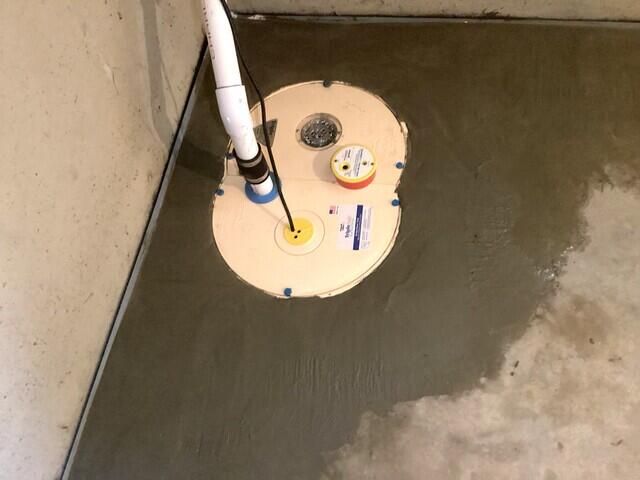
Applying Concrete to Finish!
Our team then filled in the rest of the opening with fresh concrete to finish the job.