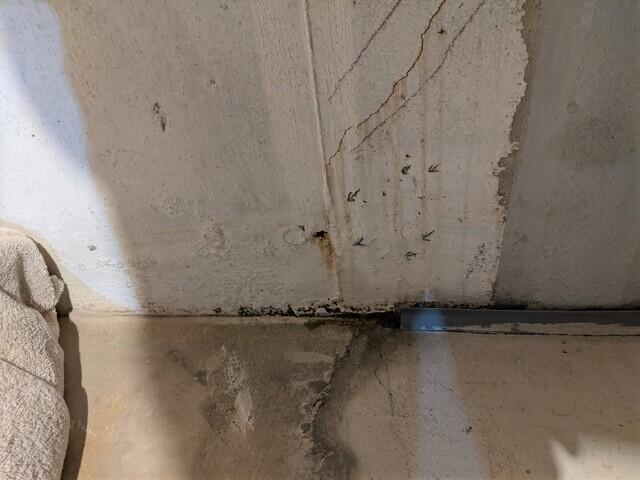
Finding the Wall Crack
After moving furniture around, we were able to fully unveil the wall crack that was seeping in water!
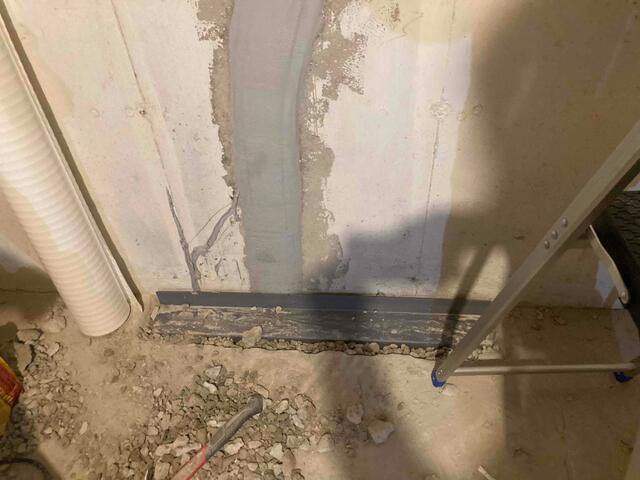
2nd Stage of FlexiSpan
At this stage of the installation, our service technician made a dry well at the bottom of the wall crack for drainage and applied two layers of flexible polyurethane to cover up the opening.
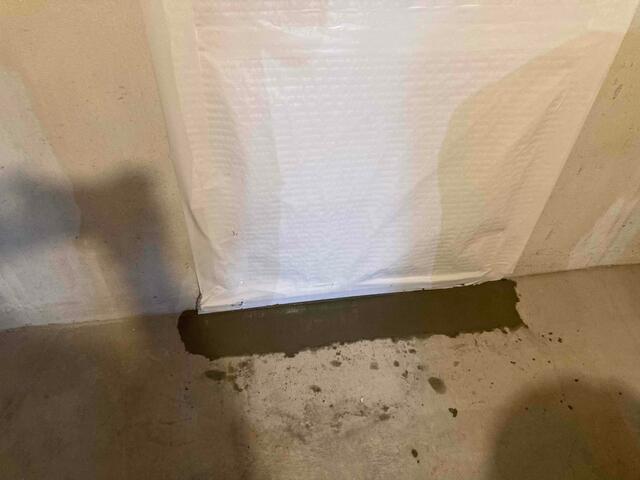
Final Touches
Lastly, we covered the wall with a piece of CleanSpace wall vapor barrier to help direct any water that does pass through the sealant, down to the drainage system.