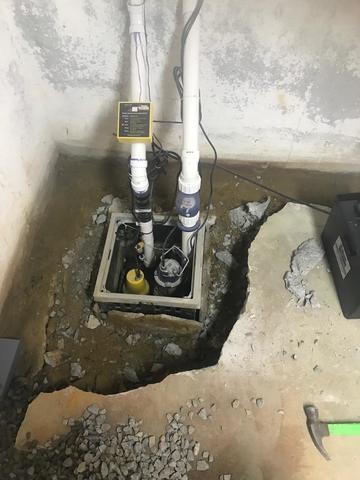
Existing Sump Pump
The existing sump pump was not in a position in the basement that allowed water to flow to it. It was not in the lowest point of the basement.
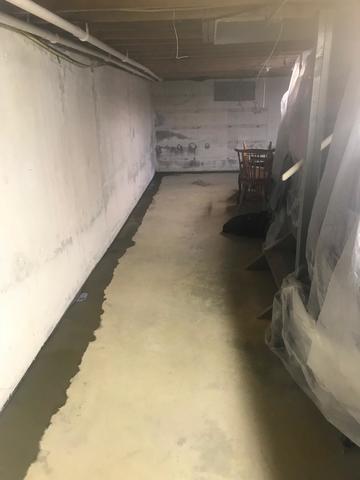
WaterGuard
The WaterGuard is installed along the perimeter of the basement according to the plan our inspector and the homeowner came up with.

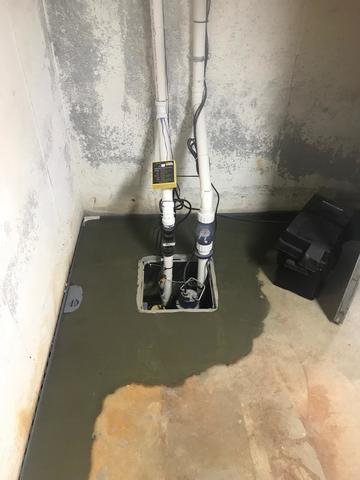
Second Sump Location
Since the floor was uneven and the existing sump pump was not collecting water, we added a second pump location with a TripleSafe
Concrete
The wet concrete will dry and cure.
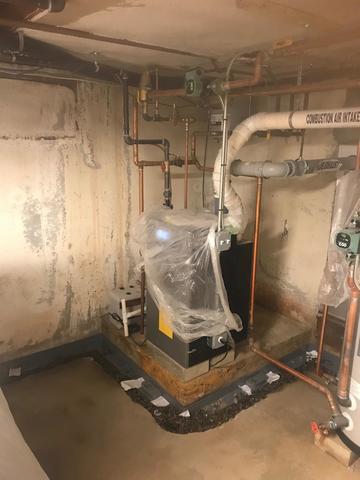
Regrading
We did some light regrading around the existing sump and re-cemented around it. Now the water should flow to the sump via the WaterGuard
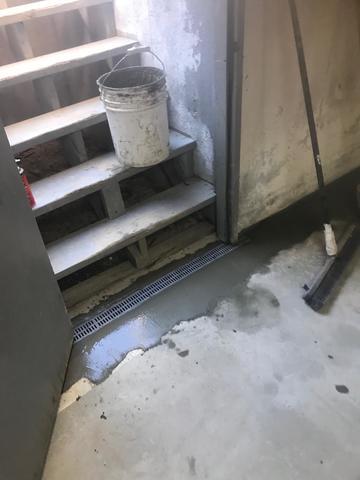
TrenchDrain in Front of the Stairs
The TrenchDrain at the bottom of the stairs will keep the water out, using a grated underground drain that connects to the WaterGuard