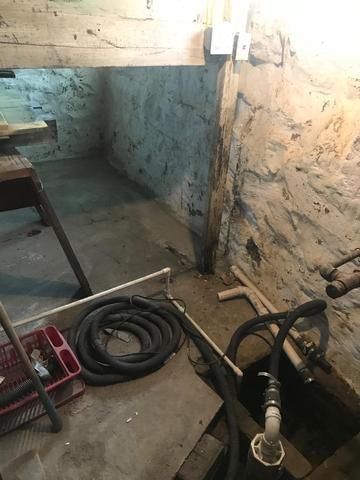
Trench
Trenches are dug first to install the WaterGuard drainage pipes
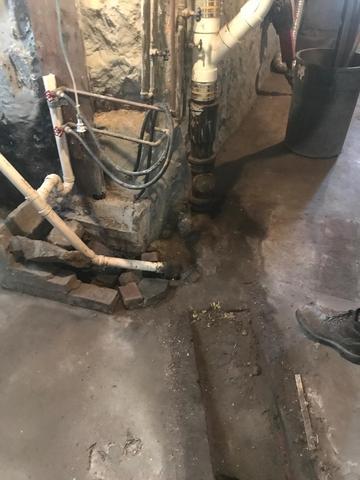
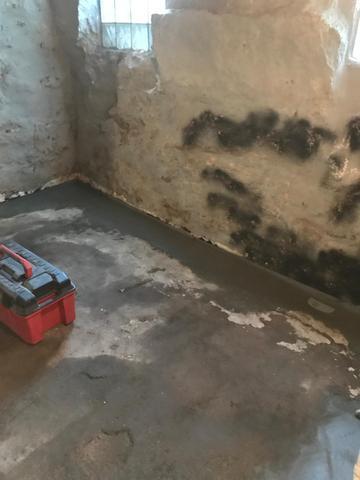
Fieldstone Foundation
The fieldstone foundation would consistently let water into the basement
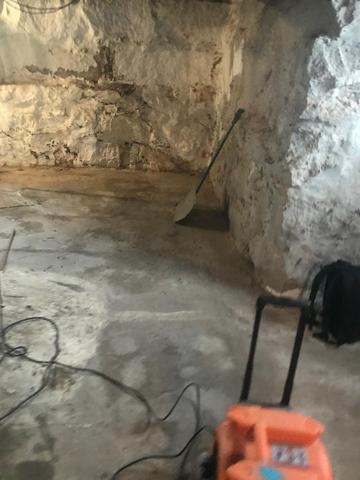
Preparing for the Sump
After determining where the lowest spot in the basement is, the foreman and crew get ready to dig for the sump
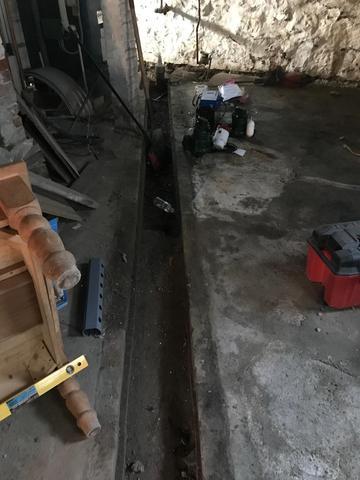
More trenches
The most effective way to waterproof is to do the whole basement. Do it right, the first time!
Wet Concrete
After the Waterguard is installed, concrete is applied over it so the system is not seen. There are special inspection ports that our technicians use to inspect for clogs in the system at an annual maintenance
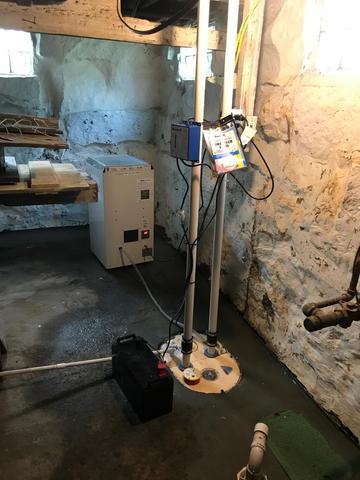
TripleSafe and SaniDry
The TripleSafe and battery back up is installed in the low spot of the basement. The SaniDry XP drains to the sump so there is no draining necessary.