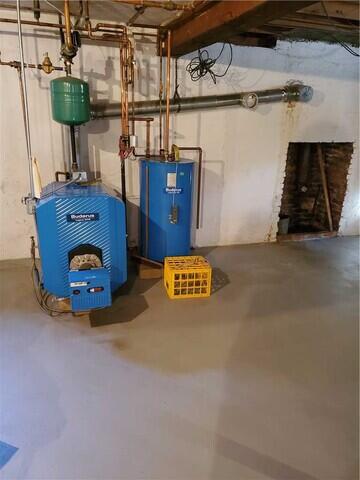
The Before Shot
Here is what this portion of the basement looked like before our operation.
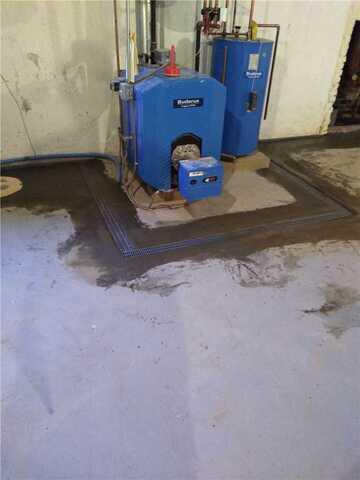
Jackhammered and Installed
The crew jackhammered a trench surrounding the whole inside perimeter. Then they placed the WaterGuard all around. Here, you see them placing in TrenchDrains that connect to the WaterGuard system.
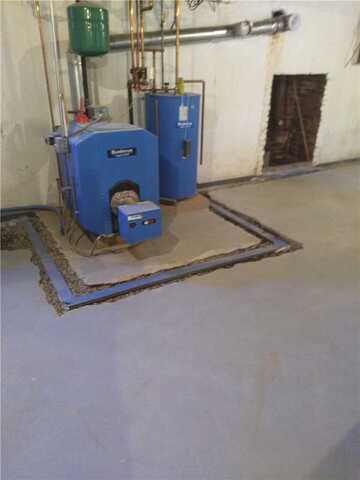
Finished
Here is what the system looks like once it's covered in fresh concrete! Now, this homeowner won't have to worry about puddles of water forming constantly.