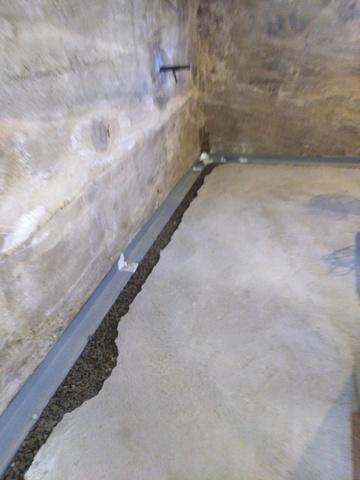
Drainage System
Our crew opens the edge of the floor to place crushed stone and the drainage pipe along the wall.
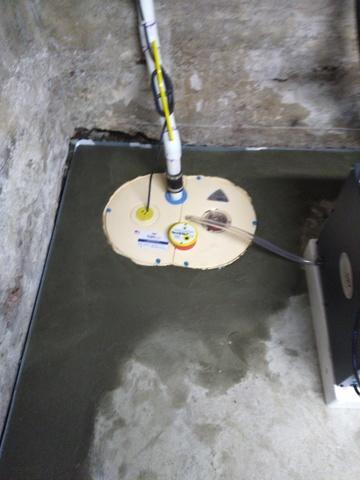
Sump Pump
The SuperSump Plus is concreted into the floor with the drainage system leading to the liner, where the water will get pumped out.
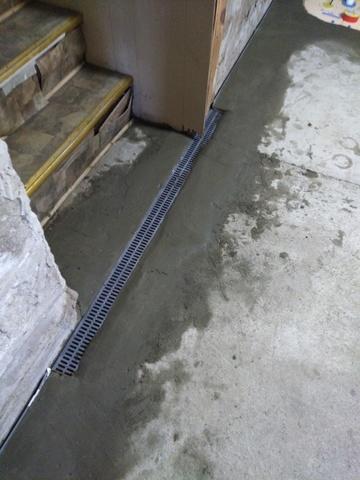
Grated Drain
In front of the doorway, TrenchDrain is placed to collect water that may seep in from any angle.
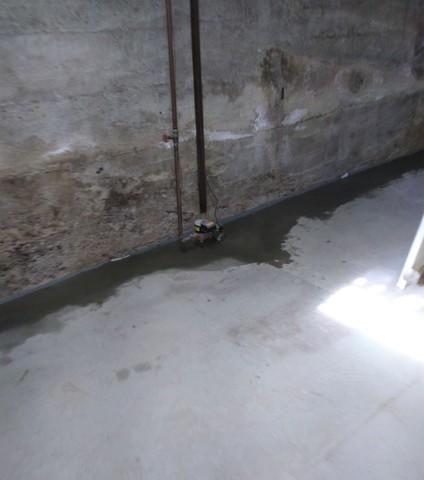
Finished Drainage
To seal the Waterguard in, concrete is added to the top while leaving a small section along the wall open for water to seep into.